The technique I'm going to talk about, could be in some cases replaced by a
dedicated post-production, but frequently it's easier to use it during the
shooting to get some interesting special effects.
As the title said, you have to use a electrical torch to "paint" the subject:
you place the subject completely into the darkness and, using a tripod and long
exposures, with a narrow light start to paint the zones of interest, that are
going to be the unique visible in the final photo. The slower you paint, more
the zone will be illuminated. You can obviously use colorful lights too.
Note that the photographer/painter does not has to stay outside the framing to
not get captured, but moving into the darkness, she can stay peacefully in front
of the lens.
The technique can be used in many different contexts, for example:
- to paint the borders and details of a subject,
- directing the light toward the lens, you can paint some writings and
- inside caves, not having complex and powerful light systems, you can
paint the cave surfaces.
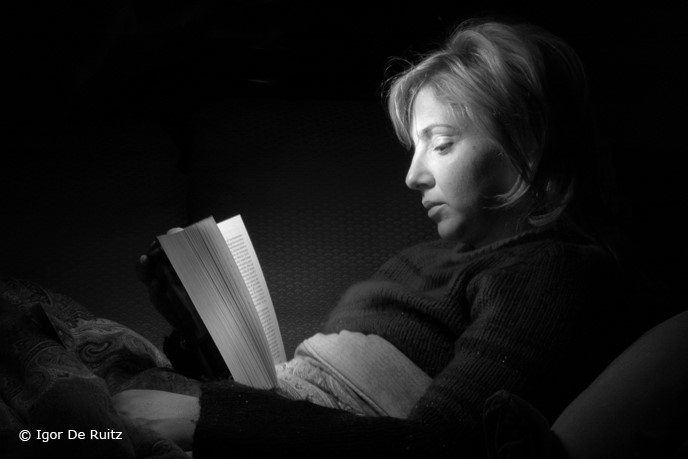
In the following shoot, using the torch I have rapidly painted the scene and
then I've proceeded slowly on the book pages and on the subject's face, to
simulate a light that comes out from the book and illuminates the face.
